

DIY Leather & Gemstone Wrap Bracelet with the SilverSilk Bead Loom

Creating your own wrap bracelet is easier than you think—especially with the SilverSilk Bead Loom! In this beginner-friendly tutorial, you’ll use 1mm leather cord, large-hole gemstone beads, and SilverSilk Capture Chain to make a layered bracelet full of texture and style. This is a fun, relaxing jewelry technique that’s perfect for gifts, stacking, or just learning something new with your beading supplies. If you’ve been looking for a fresh leather wrap bracelet idea or a new way to use gemstone beads, this project is for you.
We’re so excited to feature gorgeous yarn from The Bead Place in this exclusive SilverSilk tutorial. Gather your supplies and let’s get started!
Materials (This list of materials makes one 8-inch bracelet):
Turquoise/Purple Necklace:
21 large-hole gemstone beads (8mm round with 2.5mm holes)
Two additional large-hole gemstone beads (same type, for embellishment)
30-inch length of 1mm leather cord
Two 10-inch lengths (or one 21-inch length) of Urban SilverSilk Capture Chain
Two silver SilverSilk Double-Strand End Caps
One silver SilverSilk Lobster Claw Clasp
Two silver SilverSilk Jump Rings
Tools:
SilverSilk Bead Loom: For holding your Capture Chain while you loom
Flush cutters: for trimming Capture Chain and leather cord
Chain nose pliers: for attaching end caps and opening/closing jump rings
Wubbers Nylon Flat-Nose Proline Pliers: These pliers are perfect for securely attaching SilverSilk findings without scratching them.
Watch this video to learn about the tools I recommend using with SilverSilk: http://silversilkonline.com/recommended-tools
DIY Leather & Gemstone Wrap Bracelet Video Tutorial (Coming Soon)
DIY Leather & Gemstone Wrap Bracelet, Written Step-By-Step Guide


Step 1: Setting up the SilverSilk Bead Loom
Place your loom vertically in front of you with the grooves facing up. You’ll start your bracelet at the top of the loom, working your way down as you weave.
Before you begin weaving, take a moment to examine your beads and pick out the two with the largest holes. Set one aside for the end of the bracelet and use the other to start the center. This will make it easier to pass both leather cords through during Step 2.
Cut two 10-inch lengths (or one continuous 21-inch length) of SilverSilk Capture Chain and gently press them into the loom skipping one groove in between. This spacing allows your 8mm large-hole gemstone beads to nest comfortably between the chains.
Next, cut a 30-inch length of 1mm leather cord and string one gemstone bead onto the cord. Slide the bead to the center point of the cord so both ends are equal and position the bead between the two Capture Chains (A). This bead marks the beginning of your woven design.

Step 2: Beginning Your Weaving
With your first bead centered between the Capture Chains, double-check that both ends of your leather cord are equal in length.
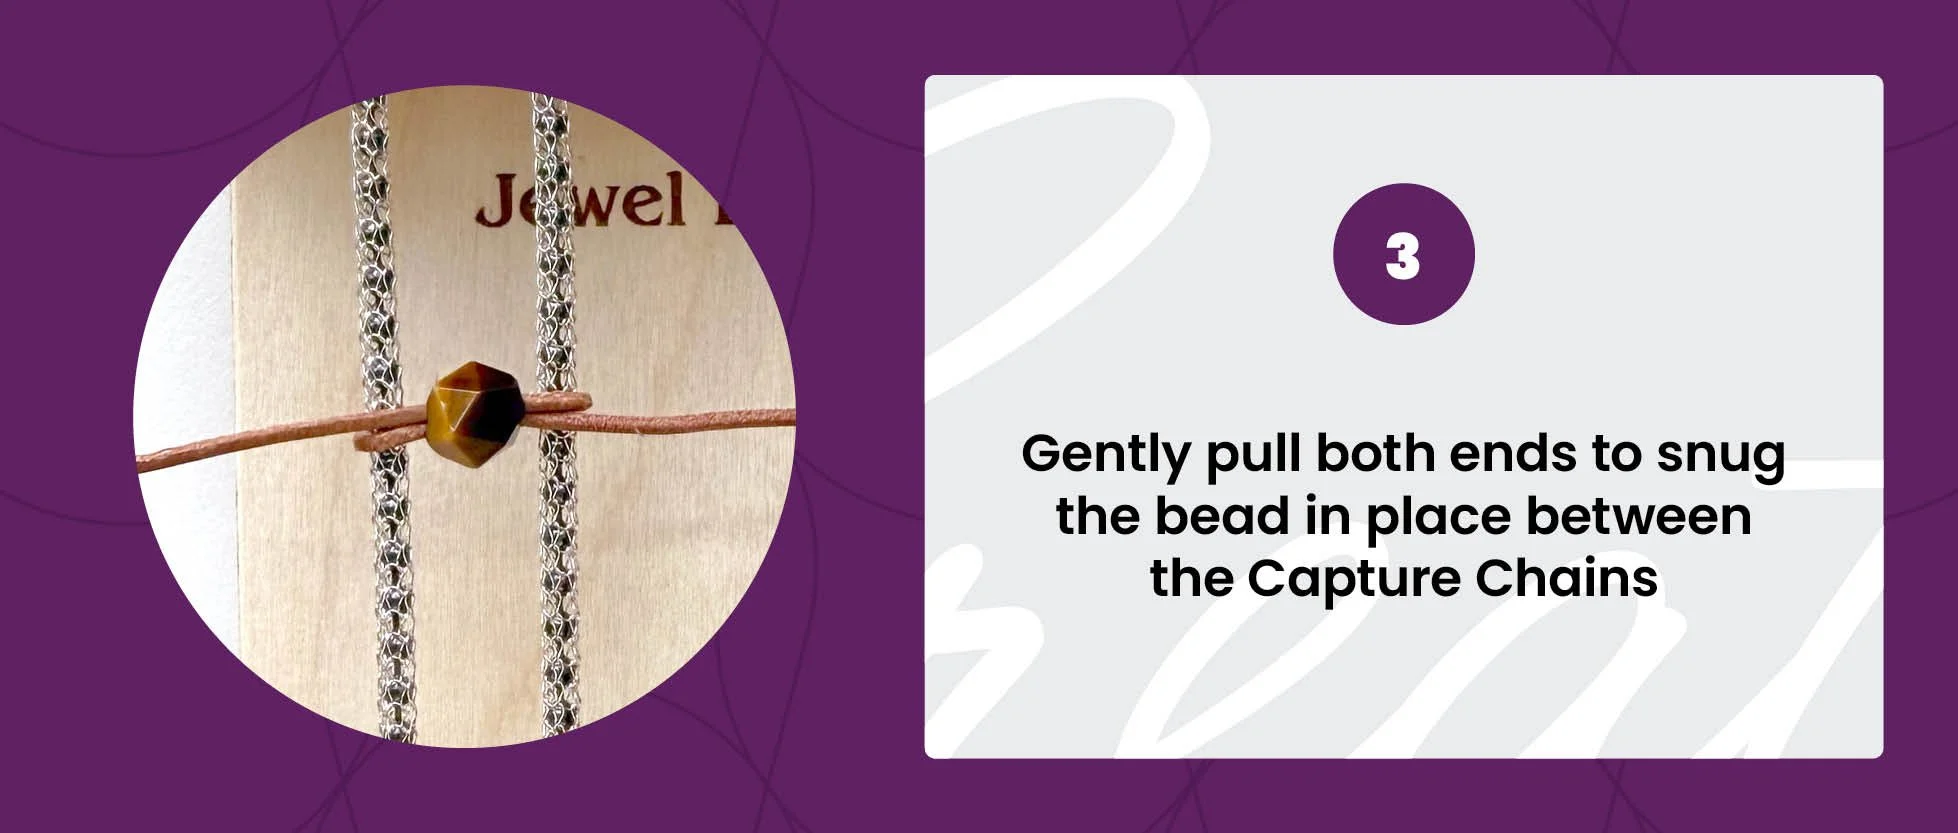
Take the left cord and pass it through the bead from left to right. Then take the right cord and pass it through the same bead from right to left (B). The two cords will cross inside the bead. Gently pull both ends to snug the bead in place between the Capture Chains (C).
Tip: If the leather feels tight going through, use gentle pressure and twist slightly as you guide it. That’s why we start with one of the largest-hole beads—it helps set the stage for smoother weaving.
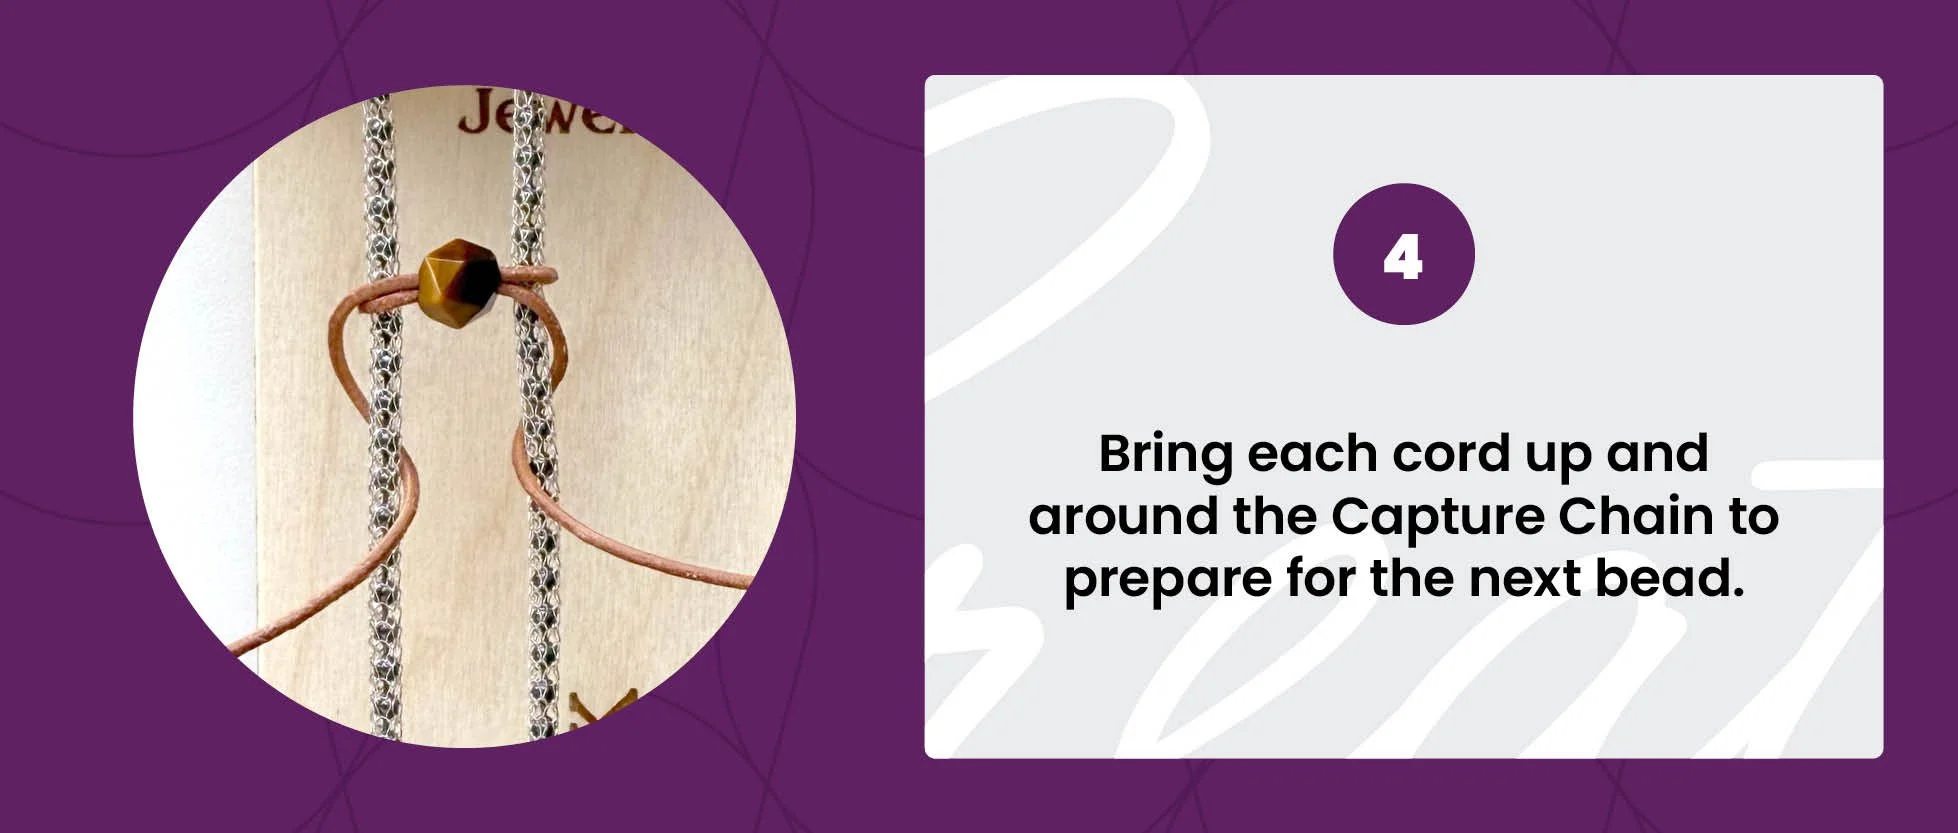
Step 3: Setting Up for the Next Bead
Bring each end of your leather cord up from underneath and around the Capture Chain so that both cords are positioned on either side of the bracelet, ready to add the next bead (D).
Step 4: Adding the Next Bead
Take the left cord and pass it through the new bead from left to right, and the right cord from right to left. The cords will cross inside the bead just like before (E). Gently pull both ends with even tension so the bead rests naturally next to the first one without compressing the Capture Chain.

Step 5: Continue Weaving the Remaining Beads
Repeat the same weaving motion for each bead: bring the cords up and around the Capture Chain, cross them through the next bead, and gently pull with even tension to position the bead in place.
As you continue, periodically check the alignment of your beads and the spacing between them. The bracelet should feel soft and flexible without the leather pulling too tight against the Capture Chains.
Keep weaving until you’ve added 21 total beads, or until the bracelet reaches your desired length.
For your final bead, use the second gemstone bead you set aside earlier with the largest hole—this will make the finishing steps much easier..

Step 6: Finishing the Weave
After adding the final bead (the second one with the largest hole), take the right leather cord and pass it back through the bead from right to left (F). This creates three cords inside the bead—a snug but manageable fit.
Make sure the right cord wraps around the right Capture Chain before it re-enters the bead. This helps anchor the bead and holds the leather securely in place.
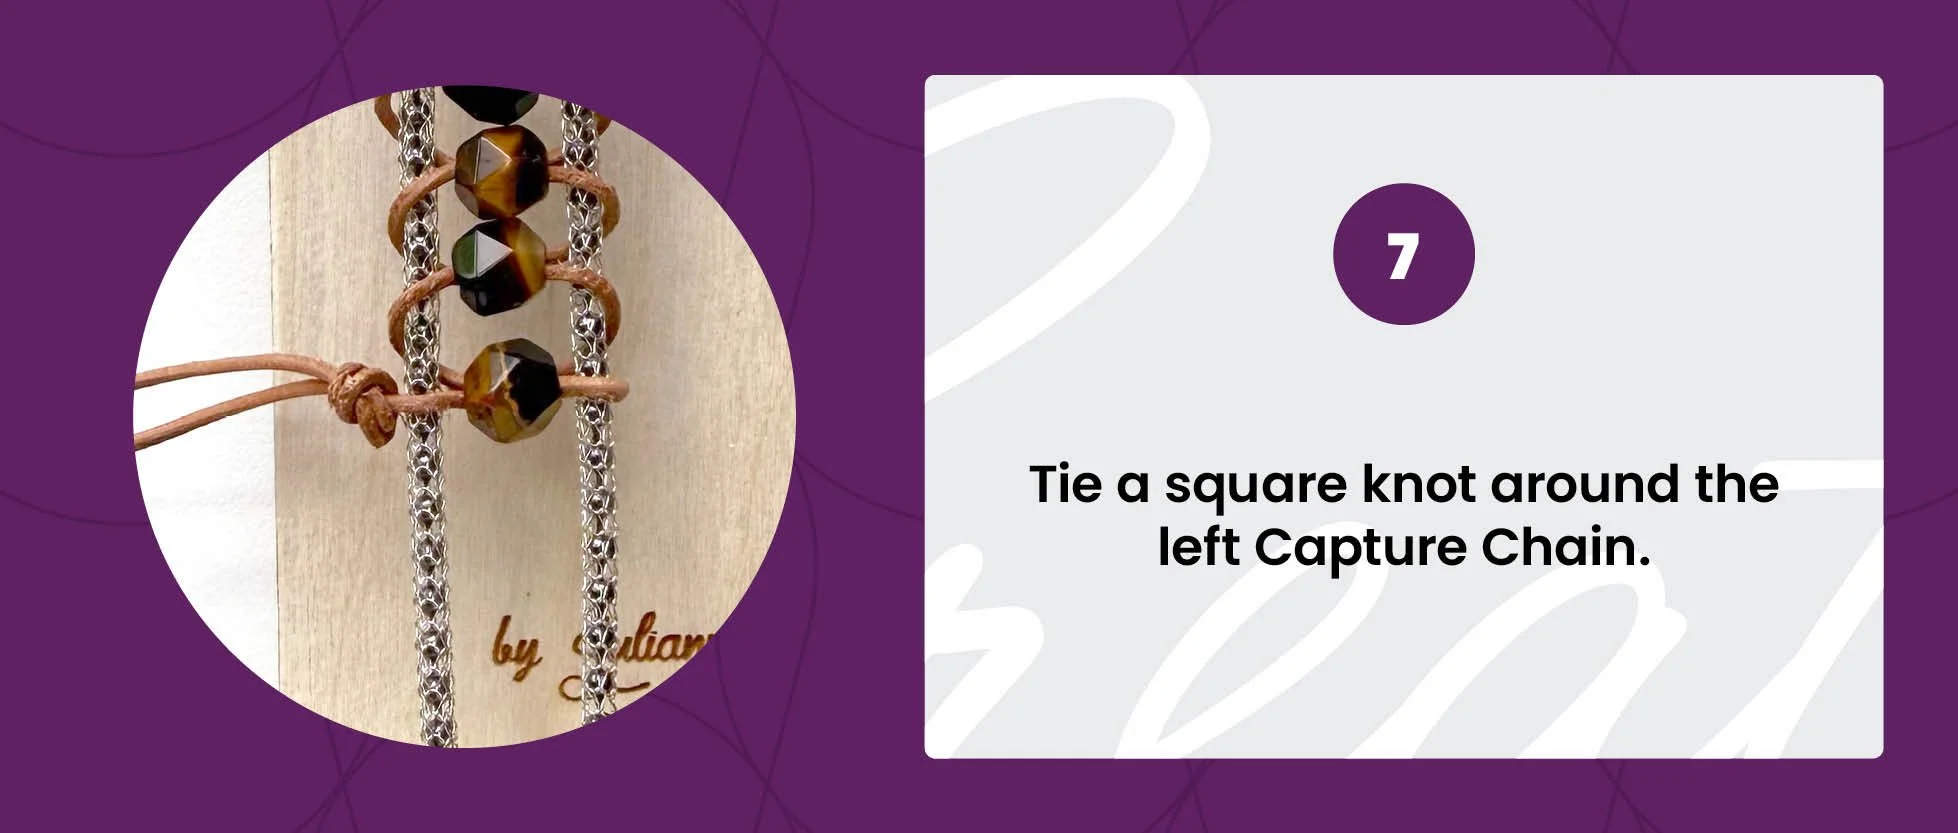
Step 7: Tiying the Ends
Next, position your cords on either side of the left Capture Chain—one cord above and one below it. Tie a square knot so the Capture Chain is sandwiched between the cords (G). Pull the knot tight so it rests just to the left of the final bead and sits snugly against the left Capture Chain.
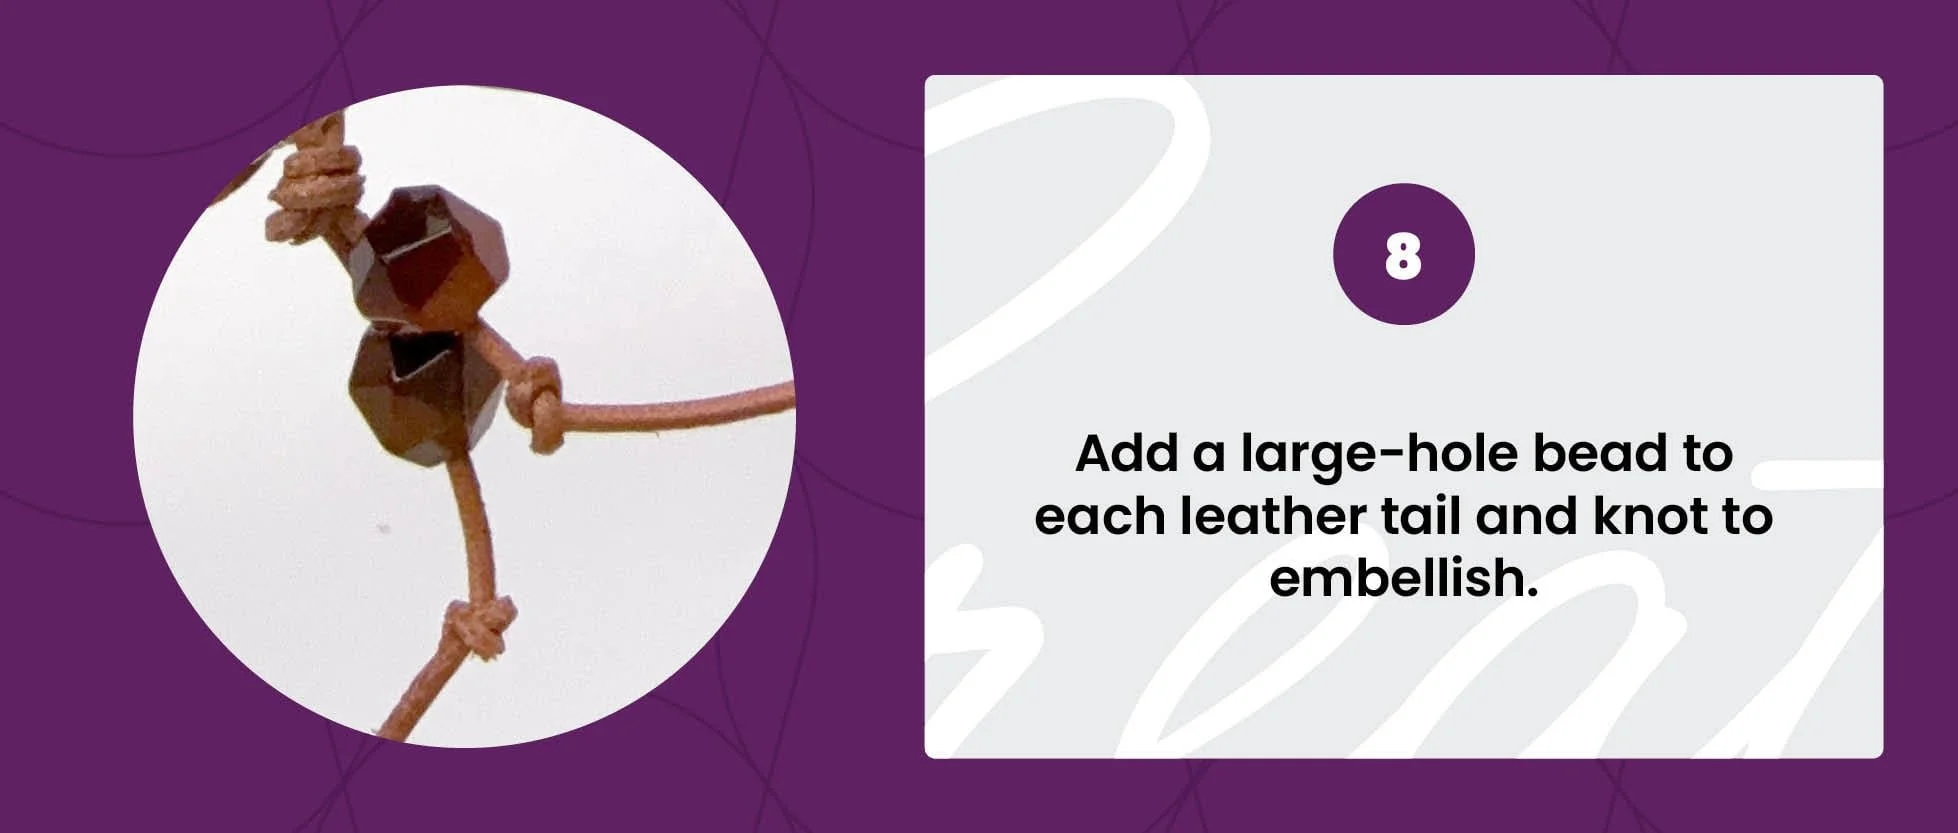
Step 8: Embellishing the Knots
Leaving a short tail of about seven inches, cut your yarn free from the skein and use your hook to pull the yard tail through the loop on the hook. This will knot the last stitch. Use a yarn needle to weave the tail back through the stitches. Do this with the starting tail left at Step 1 as well.
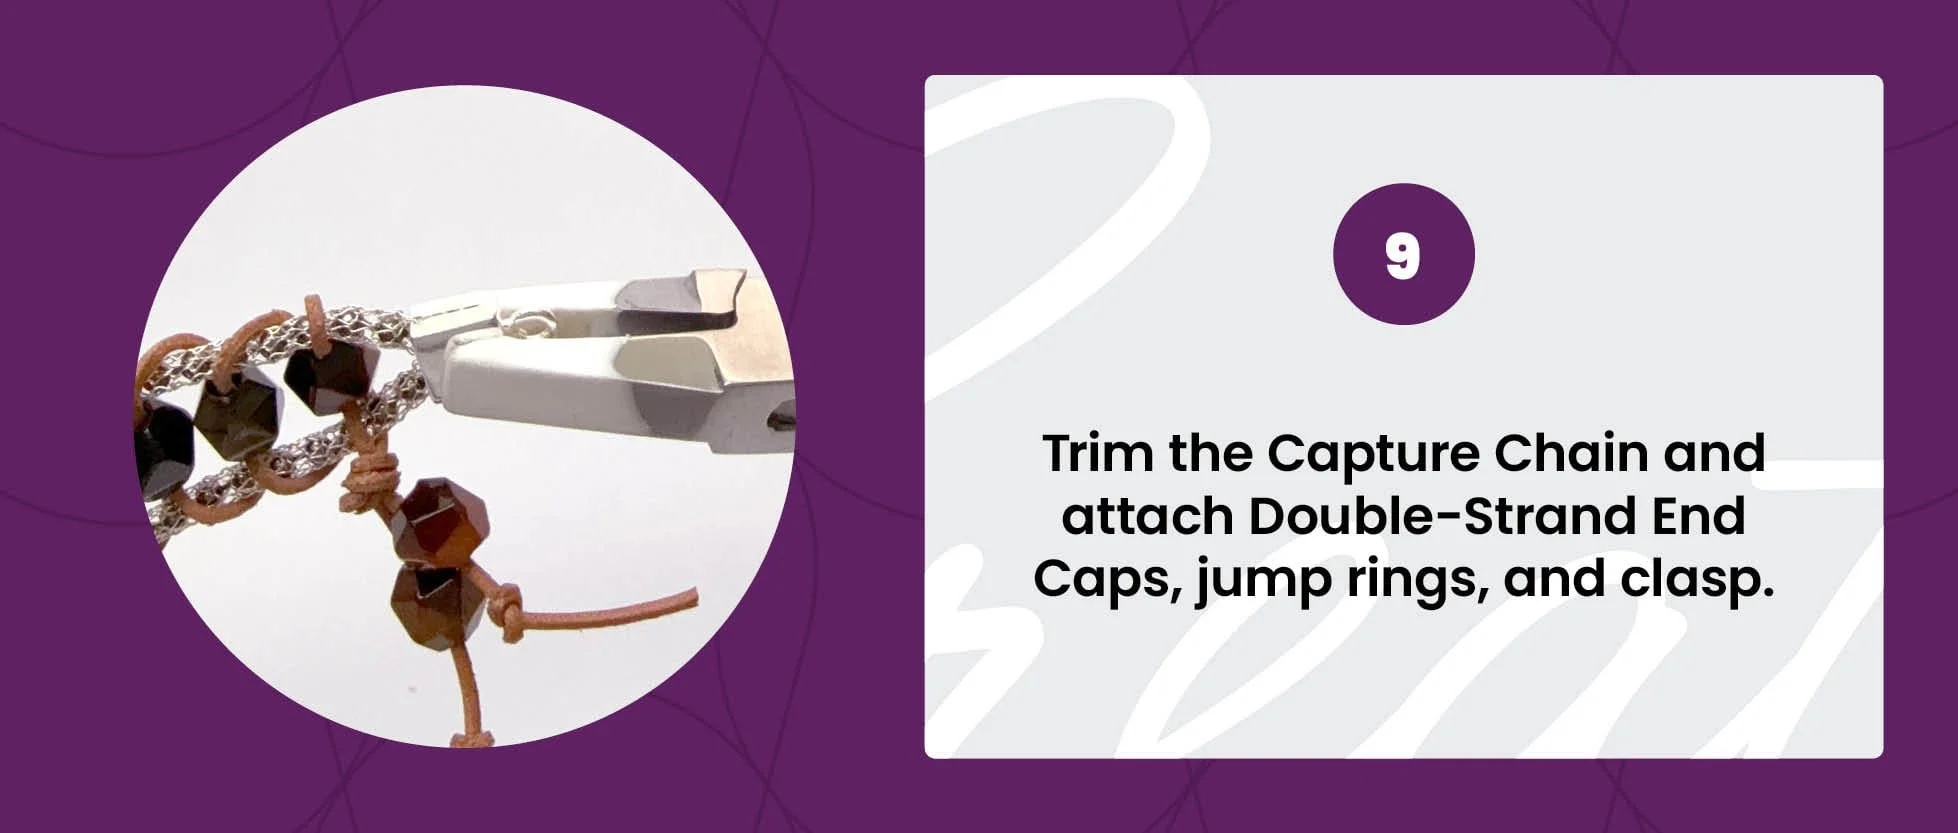
Step 9: Finishing the Bracelet
Use SilverSilk jump rings to attach a lobster clasp to one side of the bracelet and connect the other jump ring to the opposite end as a catch loop.
Conclusion:
You did it! You've created a beautiful leather and gemstone wrap bracelet using the SilverSilk Bead Loom—a technique that’s as relaxing as it is rewarding. The soft texture of the Capture Chain paired with earthy gemstone beads makes this design an instant classic.
Want to see this project in action? Watch the full video tutorial on the SilverSilk and More YouTube Channel—and be sure to like, subscribe, and comment to let me know what you think!
Join the SilverSilk community and stay inspired:
Youtube • Instagram • Facebook. • The SilverSilk Virtual Community
Want project updates by text?
Text “hello” to +1 (918) 233-6387