

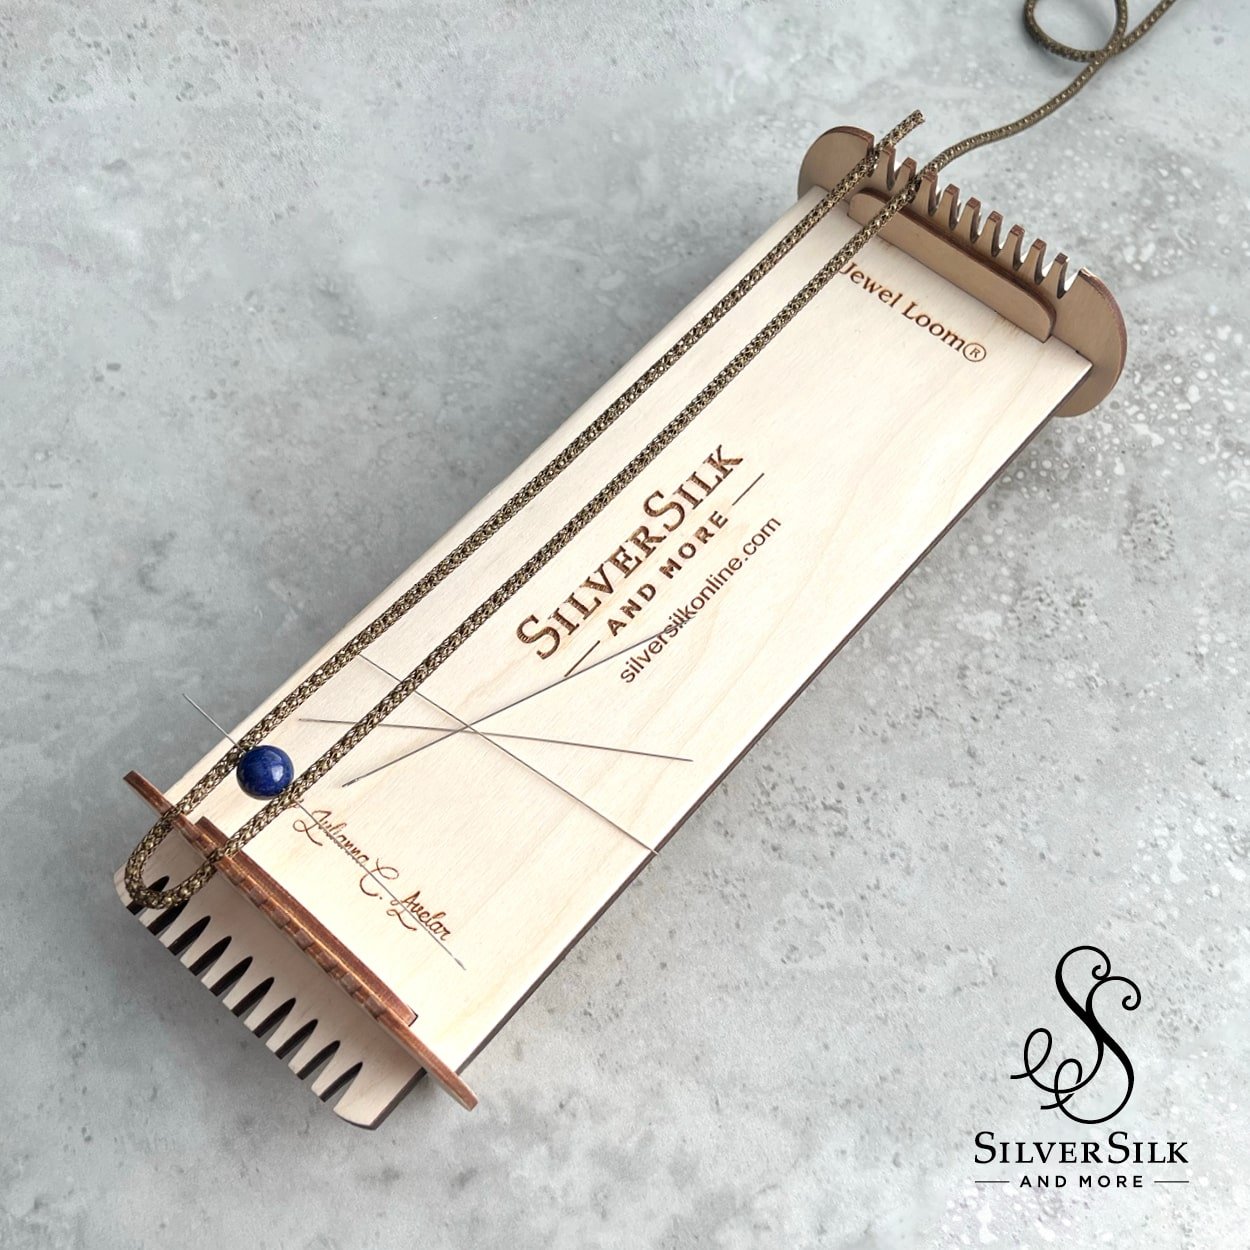

The SilverSilk Loom
SilverSilk & More is introducing yet another new way to get craft. Get excited for the SilverSilk Loom, created by Julianna Avelar, inventory of the Jewel Loom®. This wonderful tool makes weaving beads onto Capture Chain or Pearlesque Chain a breeze, with the cleverly designed pegs and notches. You can start with making a two warp bracelet, shown above, or get really funky and make multiple warps for a hot cuff design. This tool will leave your creative mind spinning with all kinds of ideas once you get a lesson on creating your very first project with it. Below, you find a series of easy steps to take to construct a simple bracelet.

Nealay Patel from SilverSilk & More and Julianna Avelar from the Jewel Loom collaborated together to come up with the SilverSilk Loom, so you can now take your knitted wire designs to the next level. It’s a very strong, portable loom and they couldn’t be happier to create a fantastic tool to use with SilverSilk. Their products complement each other just as we complement each other! Even the idea behind this loom comes from the fact that SilverSilk Capture and Pearlesque Chains fit the loom’s grooves so well – it is definitely meant to be!

How to start using the SilverSilk Loom
Create your first project by gather a few simple things that you may have in your bead stash already. Watch the video below. This project is a great, beginner-level introduction to using SilverSilk on the SilverSilk loom. You just need a few basic materials to get started.
Materials
3ft • SilverSilk Capture or Pearlesque chain
1 • Triple-strand end caps
2 • Jump rings
3ft • thin colored nylon jewelry cord
15 • 8mm round beads
1 • lobster clasp
1 • charm of your choice (and this is completely optional)
Tools
Chain nose pliers
Loctite super glue
wide flat nose pliers
SilverSilk Loom
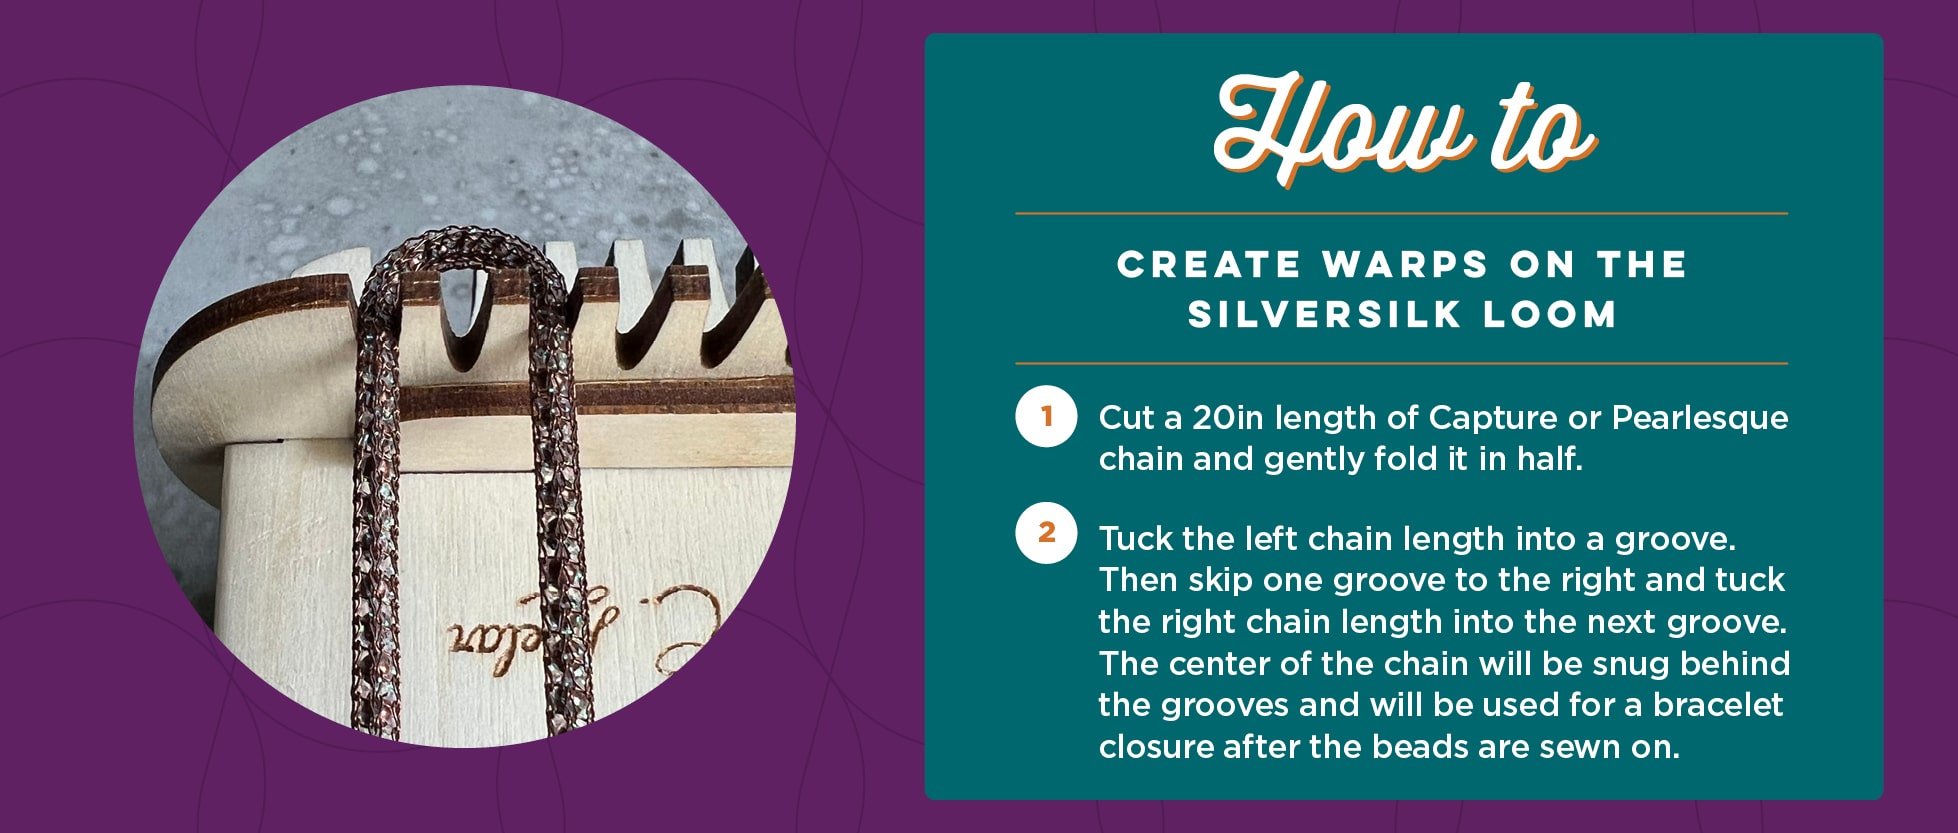
1) Create warps on the SilverSilk Loom
Cut a 18in length of Capture or Pearlesque chain and gently fold it in half. This length ready depends on how long you wish for your bracelet to be. You could use all 3ft of chain to make a wrap-style bracelet!
Once you find the center, keep your finger on it and tuck the left chain length into a groove. Then skip one groove to the right and tuck the right chain length into the next groove. The center of the chain will be snug behind the grooves and will be used for a bracelet closure after the beads are sewn on. Make sure to tuck the chain length into the bottom grooves of the loom, keeping the SilverSilk chains parallel to each other.
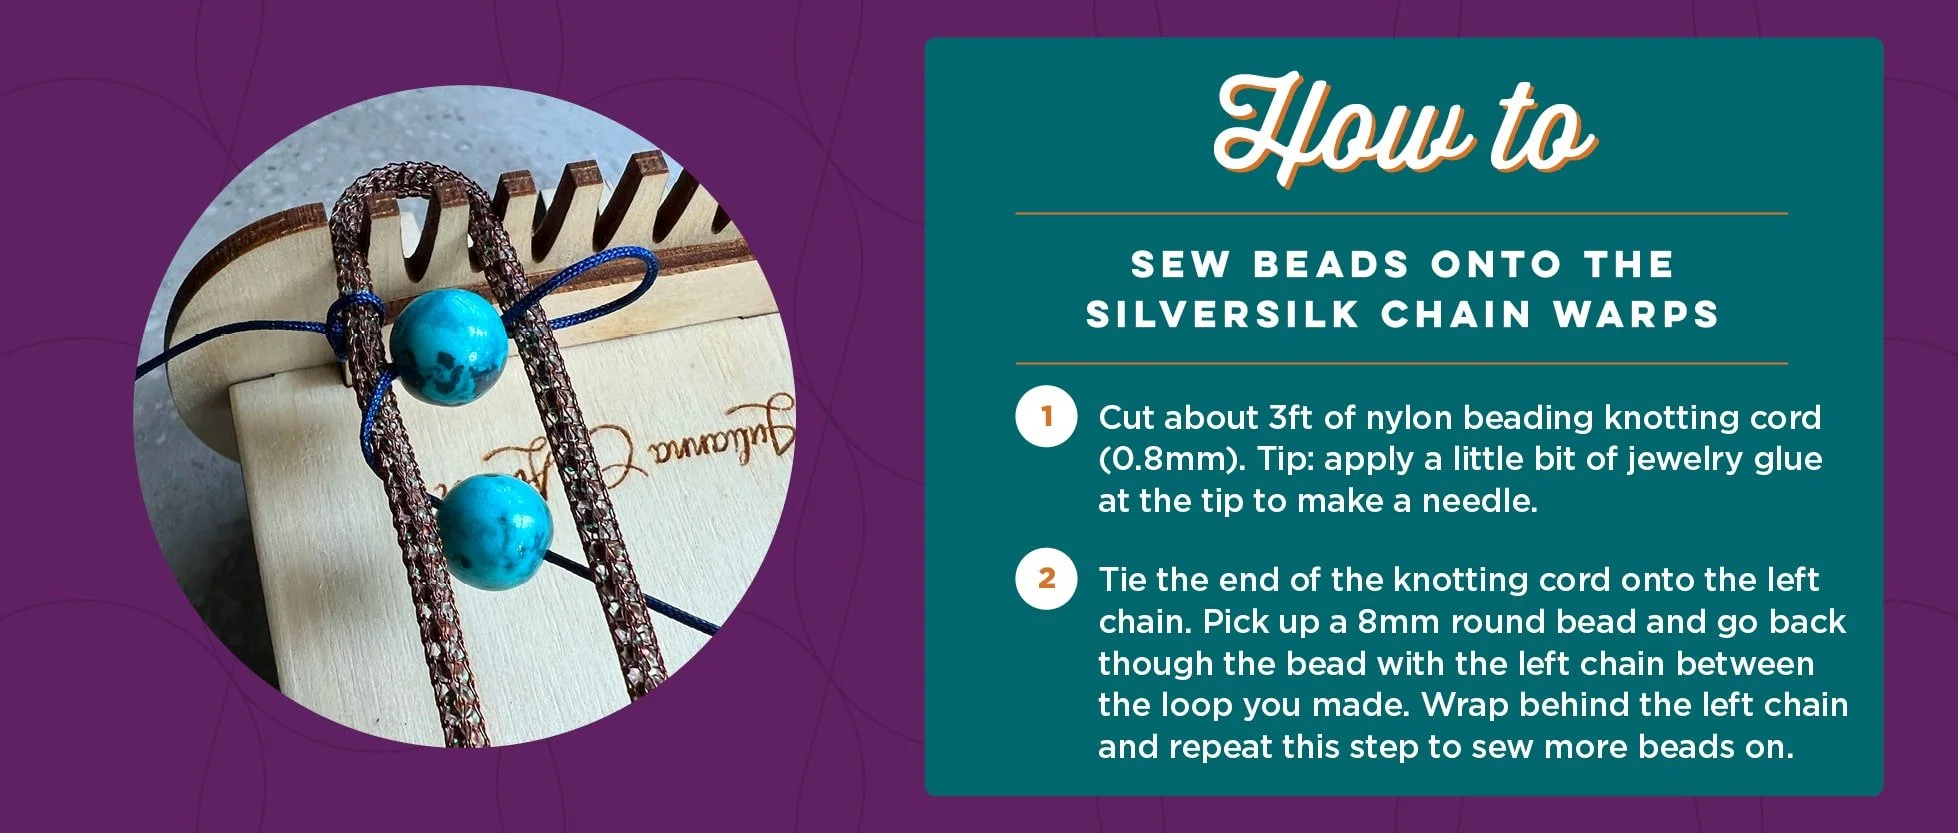
2) Sew beads onto the SilverSilk Chain warps
Cut about 4ft of nylon beading knotting cord (0.8mm). Tip: apply a little bit of jewelry glue at the tip to make a needle. You could also use beading thread, such as Wildfire by Beadalon, and needles. When you purchase your loom from Jewel Loom, they offer a beginner package of needles to get you started!
Next, tie the end of the knotting cord onto the left chain and you’ll want to start close to where the grooves are. Pick up a 8mm round bead and go back though the bead with the left chain between the loop you made. Wrap behind the left chain and repeat this step to sew more beads on. You can use big beads like I mentioned above, or experiment with size 8 seed beads or even size 11 seed beads if you are wanting ample detail and lots of color!
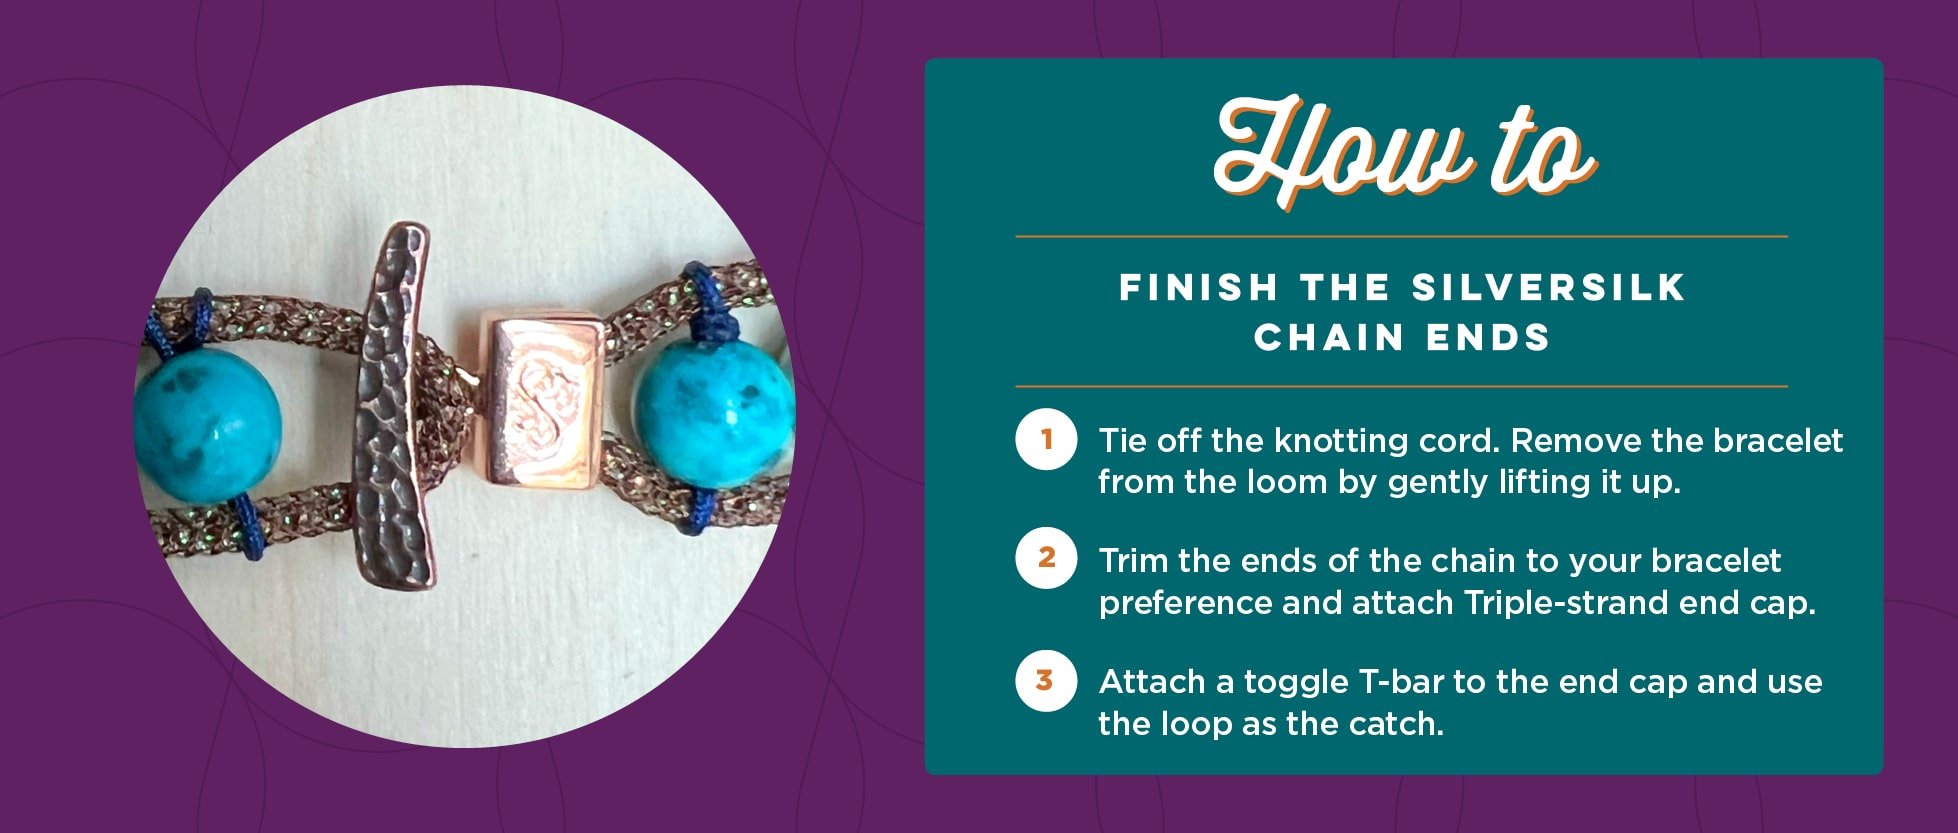
3) Finish the SilverSilk Chain Ends
At this stage of the project, you can tie off your knotting cord with a double overhand knot near the last bead. Trim the knotting cord and apply a dab of jewelry glue. I like to use Locktite super glue for any sort of knotting cords. Remove the bracelet from the loom by gently lifting it up. If you are too tough with removing it, the chain can indent and leave your finished bracelet permanently dented, so be gentle!
Trim the ends of the SilverSilk chain to your bracelet preference. You may wrap it around your wrist to see how it fits and then trim it. I like tighter bracelets so I usually have a lot of left over SilverSilk, but don’t throw them away! You can always use the scraps to make a pair of earrings. To both ends, attach a Double- or Triple-strand end cap. Each are perfectly fine to use, except that the Triple-strand end cap offers some space between the channels to help the bracelet lay more flat.
You will have a SilverSilk chain loop on one end of the bracelet you just made. We can use this as part of your decorative closure. Simply attach a toggle T-bar to the Triple-strand end cap and use the loop as the catch. You can also trim both ends of the bracelet chain and attach end caps to each end as an option. Either way, you’ll have something very stylish and easy.
Recommended Starting Products


More SilverSilk Loom Tutorials
Below, you find a number of wonderful tutorials to help inspire creativity on different ways to use your SilverSilk Loom. Sit back, enjoy and learn a new design!